Instructions
- Prepare the Chicken: Place each chicken breast between two sheets of plastic wrap or inside a large freezer bag. Using a meat mallet or the flat side of a heavy pan, pound the chicken breasts to an even thickness of about 1/2 inch. This helps them cook quickly and evenly.
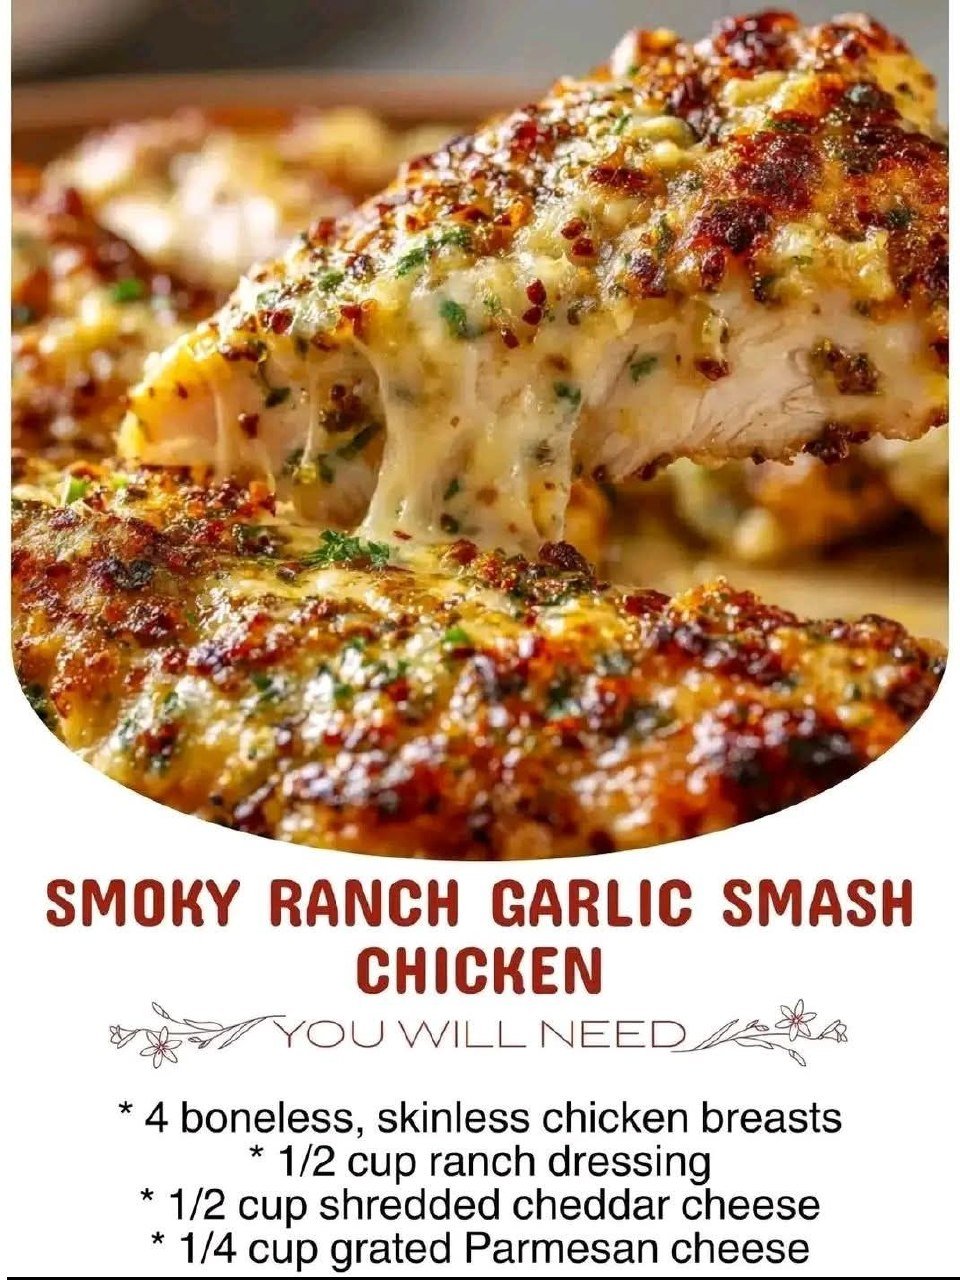
- Make the Ranch Garlic Mixture: In a small bowl, combine the ranch dressing, minced garlic (or garlic powder), smoked paprika, salt, and black pepper. Mix well until all ingredients are thoroughly combined.
- Season the Chicken: Pat the pounded chicken breasts dry with paper towels. Spread half of the ranch garlic mixture evenly over one side of each chicken breast.
- Sear the Chicken: Heat the butter or olive oil in a large oven-safe skillet (cast iron works great) over medium-high heat. Once hot, place the chicken breasts seasoned-side down in the skillet. Cook for 3-4 minutes until golden brown and slightly crispy.
- Season the Second Side: While the first side is cooking, spread the remaining ranch garlic mixture evenly over the top, unseared side of the chicken breasts.
- Flip and Continue Cooking: Flip the chicken breasts to the second side. Cook for another 3-4 minutes, or until the chicken is mostly cooked through and reaches an internal temperature of about 155°F (68°C) when measured with a meat thermometer.
- Preheat Broiler (Optional): While the chicken cooks, preheat your oven broiler to high. If you don’t have a broiler, you can continue baking in the oven.
- Add the Cheese: Evenly sprinkle the shredded cheddar cheese and grated Parmesan cheese over the top of each chicken breast in the skillet.
- Melt and Brown the Cheese: Transfer the skillet to the preheated broiler (or oven, if not broiling). Broil for 1-3 minutes, or bake at 400°F (200°C) for 5-7 minutes, until the cheese is beautifully melted, bubbly, and lightly golden brown. Keep a close eye on it under the broiler to prevent burning.
- Rest and Serve: Carefully remove the skillet from the oven. Let the chicken rest for 5 minutes before serving. This allows the juices to redistribute, ensuring tender and moist chicken.
- Garnish (Optional): Garnish with fresh chopped parsley and/or red pepper flakes, if desired, for an extra pop of color and a hint of heat.
Cooking Tips and Variations
Tips for Best Results:
- Don’t Overcook: Chicken breasts can dry out quickly. Use a meat thermometer to ensure the thickest part reaches 165°F (74°C) for safety, but pull it slightly before if you’re going to broil it with cheese, as it will continue to cook. The “smash” method helps prevent dryness by ensuring even cooking.
- Pounding Perfection: When pounding chicken, aim for an even thickness. This guarantees uniform cooking and prevents some parts from drying out while others are still undercooked. Plastic wrap is your friend here to keep things tidy!
- Hot Skillet is Key: Ensure your skillet is adequately hot before adding the chicken. This creates a beautiful sear and helps lock in moisture and flavor.
- Broiler Watch: When broiling, never walk away from the oven. Cheese can go from perfectly golden to burnt in a matter of seconds.
- Let it Rest: Resting the chicken for a few minutes after cooking is crucial. It allows the juices to redistribute throughout the meat, resulting in a more tender and flavorful final product.
- Quality Smoked Paprika: The “smoky” element really shines with good quality smoked paprika. Don’t skimp on this ingredient!
Variations to Try:
- Cheese Swap: Experiment with different cheeses! Provolone, Monterey Jack, Colby, or a spicy pepper jack would all be fantastic alternatives or additions.
- Add Some Heat: For those who love a kick, add a pinch of cayenne pepper or a dash of your favorite hot sauce to the ranch garlic mixture.
- Veggie Boost: Before adding the cheese, sauté some thinly sliced bell peppers, onions, or mushrooms in the same skillet for a few minutes. Top with chicken and cheese and finish cooking.
- Herbaceous Twist: Incorporate other fresh herbs into your ranch mixture, such as chives, dill, or oregano, for a different aromatic profile.
- Creamier Finish: For an even creamier sauce, after removing the chicken, add a splash of heavy cream or chicken broth to the skillet, scrape up any browned bits, and simmer briefly to create a pan sauce.
- Breaded Version: For a crispy exterior, after coating chicken with the ranch mixture, dredge it lightly in panko breadcrumbs mixed with a little extra smoked paprika before searing.
Storage and Reheating
Storage:
Allow any leftover Smoky Ranch Garlic Smash Chicken to cool completely before storing. Transfer the chicken to an airtight container and refrigerate for up to 3-4 days. For longer storage, you can freeze individual portions. Wrap each piece tightly in plastic wrap, then place in a freezer-safe bag or container. It will keep well in the freezer for up to 2-3 months.
Reheating:
- Oven/Toaster Oven: This is the best method for reheating to maintain texture. Preheat your oven or toaster oven to 350°F (175°C). Place the chicken on a baking sheet and heat for 10-15 minutes, or until warmed through and the cheese is bubbly again. If reheating from frozen, thaw in the refrigerator overnight first, or add an extra 10-15 minutes to the cooking time.
- Skillet: Heat a lightly oiled skillet over medium-low heat. Add the chicken and cover. Heat for 5-8 minutes, flipping once, until warmed through. This method can help keep the chicken moist.
- Microwave: While convenient, the microwave can sometimes make chicken tough and rubbery, and the cheese won’t be as crispy. If using, place the chicken on a microwave-safe plate, cover loosely, and heat in 30-60 second intervals until warm.
Frequently Asked Questions
Can I use chicken thighs instead of breasts?
Absolutely! Boneless, skinless chicken thighs would work wonderfully in this recipe. They are often more forgiving and tend to stay juicier. You may not need to pound them as thin, and their cooking time might be slightly longer (around 5-7 minutes per side), so always check for an internal temperature of 165°F (74°C).
What if I don’t have a meat mallet to smash the chicken?
No problem! You can use the bottom of a heavy skillet, a rolling pin, or even a sturdy wine bottle. The goal is to get the chicken to an even 1/2-inch thickness so it cooks quickly and uniformly. Just be sure to place the chicken between plastic wrap to prevent a mess.
Can I prepare the chicken ahead of time?
You can definitely do some prep in advance! You can pound the chicken breasts and mix the ranch garlic seasoning. Store the pounded chicken in the refrigerator for up to 24 hours. Keep the seasoning mixture in an airtight container in the fridge for up to 2-3 days. When ready to cook, simply spread the mixture on the chicken and proceed with searing and broiling.
What are good side dishes to serve with this chicken?
This versatile chicken pairs well with a variety of sides! Some excellent choices include a simple green salad with a light vinaigrette, roasted asparagus or broccoli, creamy mashed potatoes, fluffy rice, or even a side of fresh corn on the cob. For a heartier meal, consider serving it alongside some garlic bread or a baked sweet potato.