Instructions
- Preheat your oven to 350°F (175°C). Line a 9×13 inch baking pan with parchment paper, leaving an overhang on the sides to easily lift the bars out later. Lightly grease the parchment paper.
- In a large mixing bowl, combine the melted butter and granulated sugar. Whisk until well combined and smooth.
- Add the eggs one at a time, beating well after each addition until the mixture is light and fluffy. Stir in the vanilla extract.
- In a separate medium bowl, whisk together the all-purpose flour, unsweetened cocoa powder, baking powder, and salt. Make sure there are no lumps of cocoa powder.
- Gradually add the dry ingredients to the wet ingredients, mixing on low speed or by hand until just combined. Be careful not to overmix; overmixing can lead to tough bars.
- Fold in the 1 cup of semi-sweet chocolate chips (and any optional milk chocolate chips if you’re mixing them into the batter). Distribute them evenly throughout the batter.
- Pour the batter into the prepared 9×13 inch baking pan and spread it evenly with a spatula.
- Bake for 25-30 minutes, or until a wooden skewer inserted into the center comes out with moist crumbs attached, but not wet batter. The edges should be set, but the center might still look slightly soft – this is key for fudgy bars.
- While the bars are baking, prepare the glaze (if using). In a small microwave-safe bowl, combine the ½ cup semi-sweet chocolate chips, 2 tablespoons unsalted butter, and 1 tablespoon light corn syrup (if using).
- Microwave the glaze mixture in 30-second intervals, stirring well after each, until smooth and melted. Be careful not to overheat. Alternatively, melt over a double boiler.
- Once the bars are out of the oven, immediately pour the warm chocolate glaze over the top. Use an offset spatula or the back of a spoon to spread it evenly across the hot bars. The residual heat from the bars will help the glaze set beautifully.
- Let the bars cool completely in the pan on a wire rack before cutting. This is a crucial step for clean cuts and a truly fudgy texture. For best results, you can even chill them in the refrigerator for an hour or two once they’ve cooled down to room temperature.
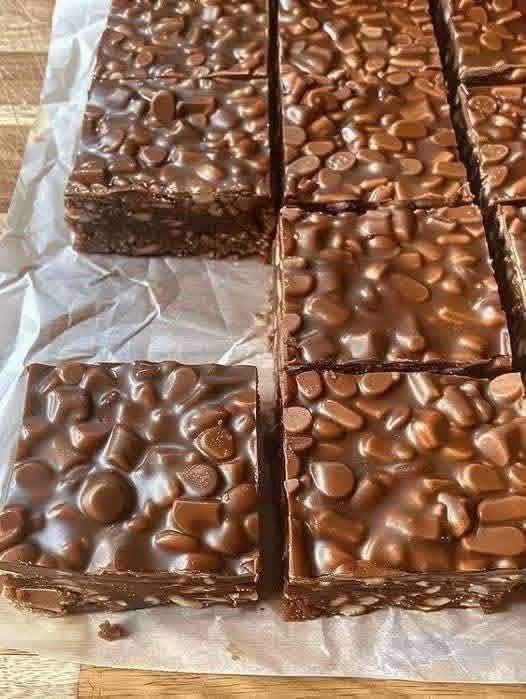
- Once completely cooled and set, use the parchment paper overhang to lift the entire slab of bars out of the pan. Place on a cutting board and cut into squares or rectangles of your desired size. Serve and enjoy!
Cooking Tips and Variations
For the Fudgiest Bars: The key to incredibly fudgy bars is not to overbake them. They should still look a little moist in the center when you pull them out of the oven. They will continue to set as they cool. Err on the side of underbaking rather than overbaking.
Quality Matters: Using good quality cocoa powder and chocolate chips will significantly enhance the flavor of these bars. Dutch-processed cocoa powder will give a darker color and a less acidic, smoother chocolate flavor.
Don’t Skip the Parchment Paper: Lining the pan with parchment paper is a game-changer. It makes lifting the cooled bars out of the pan incredibly easy and ensures clean, neat cuts.
Chilling for Clean Cuts: While tempting to dive in immediately, chilling the bars for at least an hour (or even overnight) before cutting will result in much cleaner, sharper edges and a firmer, more satisfying fudgy texture.
Temperature Control for Glaze: Ensure your glaze isn’t too hot when you pour it over the bars. It should be warm enough to be pourable and spreadable, but not sizzling, which could cause the chocolate to seize or become grainy.
Add a Pinch of Coffee: A teaspoon of instant espresso powder added to the dry ingredients (along with the cocoa powder) won’t make your bars taste like coffee, but it will significantly deepen and intensify the chocolate flavor.
Nutty Crunch: For added texture and flavor, fold in ½ cup of chopped walnuts, pecans, or almonds along with the chocolate chips into the batter.
Mint Chocolate Dream: Add ½ teaspoon of peppermint extract to the batter for a refreshing twist. You can also sprinkle crushed peppermints over the warm glaze.
Caramel Swirl: After pouring the batter into the pan, drizzle about ¼ cup of store-bought or homemade caramel sauce over the top. Use a knife or skewer to gently swirl it into the batter before baking.
White Chocolate Delight: Replace some or all of the semi-sweet chocolate chips with white chocolate chips for a different flavor profile. You could also drizzle melted white chocolate over the finished, set dark chocolate glaze.
Spice It Up: A pinch of cayenne pepper in the dry ingredients can add a subtle, intriguing warmth to the chocolate.
Salt Flakes: A sprinkle of flaky sea salt over the wet glaze before it sets can beautifully enhance the chocolate flavor and add a touch of gourmet sophistication.
Storage and Reheating
Room Temperature: These chocolate bars can be stored in an airtight container at room temperature for up to 3-4 days. Ensure they are completely cooled before storing to prevent condensation.
Refrigeration: For longer storage or if you prefer a firmer, chewier texture, store the bars in an airtight container in the refrigerator for up to 1 week. If stacking, place parchment paper between layers to prevent sticking.
Freezing: These bars freeze beautifully! Cut them into individual servings, then wrap each tightly in plastic wrap and place them in a freezer-safe bag or container. They can be frozen for up to 2-3 months. Thaw at room temperature for an hour or two, or briefly microwave for a warm, gooey treat.
Reheating: While delicious at room temperature or chilled, if you desire a warm, gooey experience, you can gently reheat individual bars in the microwave for 10-15 seconds. Be careful not to overheat, as this can dry them out.
Frequently Asked Questions
Why are my chocolate bars dry and cakey instead of fudgy?
The most common reason for dry, cakey bars is overbaking. Keep a close eye on them in the oven and pull them out when the edges are set but the center still looks a little soft and slightly jiggly. They will continue to cook and set as they cool. Using too much flour or not enough fat can also contribute to a drier texture.
Can I use different types of chocolate for this recipe?
Absolutely! This recipe is very adaptable. You can use dark chocolate chunks, milk chocolate, white chocolate, or a mix of different types of chocolate chips in the batter and for the glaze. Just be aware that different chocolates have varying sweetness levels, so you might want to adjust the sugar slightly if using very dark or very sweet chocolate.
Do I have to use the glaze?
No, the glaze is optional but highly recommended! It adds an extra layer of chocolatey goodness, a beautiful shine, and helps seal in moisture, contributing to the fudgy texture. If you omit the glaze, the bars will still be delicious but will have a more rustic, less shiny appearance.
How can I make sure my cuts are clean and neat?
For the cleanest cuts, ensure the bars are completely cooled, and ideally, chilled in the refrigerator for at least an hour. Use a large, sharp chef’s knife. For extra clean cuts, wipe the knife blade clean with a warm, damp cloth between each slice. Press straight down firmly rather than sawing back and forth.