Instructions
- Preheat your oven to 350°F (175°C) if toasting pecans, otherwise proceed to step 2. Spread the ½ cup of pecans (for the crust) and the ¼ cup of pecans (for the topping) on a baking sheet. Toast in the preheated oven for 5-7 minutes, or until fragrant and lightly golden. Watch carefully to prevent burning. Let cool completely.
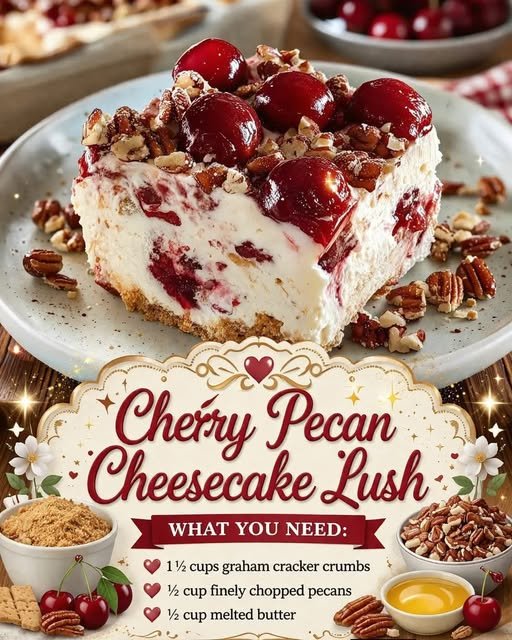
- In a medium bowl, combine the graham cracker crumbs and the ½ cup of cooled, finely chopped toasted pecans. Pour in the ½ cup of melted butter and mix well until the crumbs are evenly moistened.
- Press the mixture firmly and evenly into the bottom of a 9×13-inch baking dish. Use the bottom of a glass or a flat measuring cup to help create a compact crust.
- Place the crust in the refrigerator to chill for at least 30 minutes while you prepare the filling, allowing it to firm up.
- In a large mixing bowl, using an electric mixer, beat the softened cream cheese until smooth and creamy, about 2-3 minutes.
- Gradually add the powdered sugar to the cream cheese, beating until well combined and lump-free.
- Stir in the vanilla extract and the sweetened condensed milk until fully incorporated and smooth.
- Gently fold in the thawed whipped topping until no streaks remain and the mixture is light and airy. Be careful not to overmix, as this can deflate the whipped topping.
- Retrieve the chilled crust from the refrigerator. Evenly spread the cream cheese mixture over the graham cracker crust.
- Carefully spoon the cherry pie filling over the cream cheese layer. You can spread it evenly or create delicate swirls with a knife for an artistic touch.
- Sprinkle the remaining ¼ cup of cooled, toasted chopped pecans over the cherry layer as a garnish.
- Cover the baking dish tightly with plastic wrap and refrigerate for a minimum of 4 hours, or preferably overnight. This chilling time is crucial for the dessert to set properly and for the flavors to meld.
- Before serving, you can let it sit at room temperature for 10-15 minutes for easier slicing, if desired. Slice into squares and serve chilled.
Cooking Tips and Variations
For a truly exceptional Cherry Pecan Cheesecake Lush, paying attention to a few details can make all the difference. Always ensure your cream cheese is at room temperature before you begin mixing. This is vital for achieving that silky-smooth, lump-free texture that defines a perfect cheesecake filling. Cold cream cheese will inevitably lead to a lumpy mixture, no matter how long you beat it. Take it out of the fridge at least an hour or two before you plan to start your dessert. Another pro tip is to lightly toast your pecans. Whether they’re going into the crust or on top as a garnish, toasting them briefly in a dry skillet or a low oven brings out their natural oils and intensifies their nutty flavor, adding an extra layer of depth to every bite. Just be sure to let them cool completely before incorporating them into the crust mixture or sprinkling them on top, as warm nuts can soften the other ingredients.
When it comes to the whipped topping, handle it gently. Once you’ve incorporated the sweetened condensed milk, gently fold in the thawed whipped topping. Overmixing will cause the air to be knocked out of the whipped topping, resulting in a denser, less airy cheesecake layer. The goal is a light, cloud-like texture that melts in your mouth. For the cherry layer, if you’re using canned pie filling, you can enhance its flavor by stirring in a teaspoon of almond extract; almond and cherry are a classic flavor pairing that works beautifully. If you’re feeling ambitious and want to use fresh cherries, simply pit and halve about 2-3 cups of fresh cherries, then simmer them with a quarter cup of sugar, a tablespoon of lemon juice, and a tablespoon of cornstarch (mixed with a little cold water to form a slurry) until thickened. This homemade cherry topping will elevate the fresh fruit flavor even further.
Don’t be afraid to experiment with variations to customize this lush to your liking. While cherries are classic, other berries work wonderfully too. Consider a Mixed Berry Cheesecake Lush using a blend of strawberries, raspberries, and blueberries, or a Peach Pecan Lush for a summery twist. If you’re not a fan of pecans, walnuts or even almonds can be substituted in the crust and as a garnish. For an extra layer of decadence, you could drizzle a little melted dark chocolate over the top before serving, creating an even more striking visual and flavor contrast. Another delightful variation involves adding a layer of chocolate ganache directly over the cheesecake filling before adding the cherry topping, transforming it into a Black Forest-inspired treat. For a slightly different crust, you could use shortbread cookies, vanilla wafers, or even chocolate sandwich cookies (like Oreos) for a darker, richer base. The possibilities are endless, allowing you to tailor this versatile dessert to any occasion or preference.
Storage and Reheating
The Cherry Pecan Cheesecake Lush is a dessert that truly benefits from being served well-chilled, and it stores beautifully, making it an excellent make-ahead option. To store any leftovers, ensure the baking dish is tightly covered with plastic wrap or aluminum foil. This prevents the dessert from absorbing any odors from the refrigerator and helps maintain its creamy texture and vibrant flavors. Stored properly, the Cherry Pecan Cheesecake Lush will keep fresh in the refrigerator for up to 3-4 days. While it technically can be frozen, the texture of the cream cheese layer and especially the whipped topping can change slightly upon thawing, becoming a bit grainier or watery. If you do choose to freeze it, wrap individual slices or the entire dish very tightly in plastic wrap, then again in aluminum foil, and store for up to 1 month. Thaw overnight in the refrigerator before serving. Reheating is not recommended for this no-bake dessert, as it is meant to be enjoyed cold. Warming it up would cause the layers to melt and lose their structure, compromising the delightful experience of this lush.
Frequently Asked Questions
Can I make this Cherry Pecan Cheesecake Lush ahead of time for a party?
Absolutely! This dessert is an ideal make-ahead option. In fact, it tastes even better when it has had ample time to chill, allowing all the flavors to meld and the layers to set perfectly. We recommend preparing it the day before your event and letting it chill in the refrigerator overnight. This ensures the best texture and flavor profile for your guests.
What if I don’t have graham crackers? Can I use other cookies for the crust?
Yes, you certainly can! While graham crackers provide a classic flavor, you can easily substitute them with other crumbly cookies. Vanilla wafers, shortbread cookies, or even digestive biscuits would make an excellent crust. For a chocolate twist, you could use crushed Oreo cookies (sans the cream filling) mixed with melted butter for a rich, dark base.
My cream cheese filling turned out lumpy. What did I do wrong?
The most common reason for a lumpy cream cheese filling is using cold cream cheese. It’s crucial that your cream cheese is softened to room temperature before you begin mixing. This allows it to blend smoothly with the other ingredients, creating that signature velvety texture. If your filling is a bit lumpy, try beating it longer with an electric mixer, or even gently warming the bowl over a pan of warm water for a few minutes (being careful not to cook it) to help smooth out the lumps.